
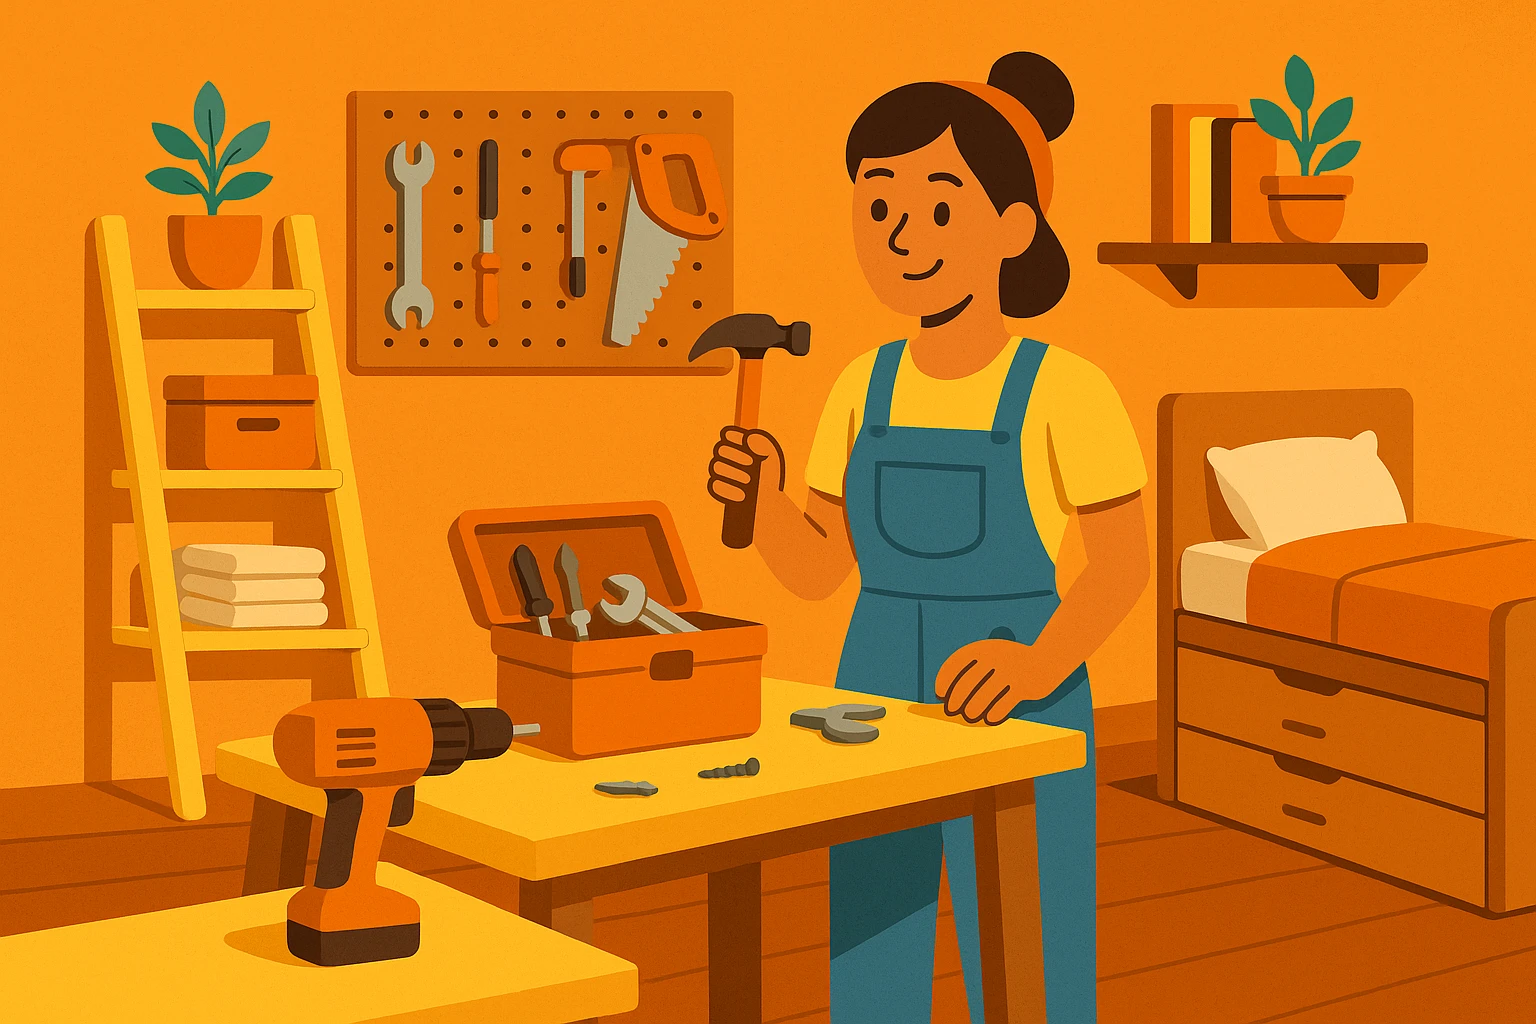
Limited square footage doesn’t mean you’re stuck with cramped, cluttered rooms. Smart DIY projects can unlock storage, streamline movement, and make every corner pull its weight.
Make a Small Home Work Smarter
Here are five practical, space‑saving upgrades you can tackle with basic tools and a modest budget.
1. Build a Behind‑the‑Door Storage Rack
The back of a door is often wasted space. A shallow rack turns it into vertical storage for cleaning supplies, pantry items, or bathroom products.
Tools & Materials
- 1x3 or 1x4 boards (for sides and shelves) or a ready‑made over‑door rack
- Wood screws and drill/driver
- Measuring tape and level
Steps
Measure Door Clearance
Open the door fully and measure the space between the back of the door and the wall. Your rack should be shallower than this space.
Plan Shelf Spacing
Decide what you’ll store and space shelves accordingly (shorter for cans or bottles, taller for sprays or paper towels).
Assemble the Frame
Create two vertical side rails from 1x3s. Screw smaller boards between them as shelves. Keep everything shallow, around 3–4 inches deep.
Attach Rack to the Door
Find solid sections of the door (avoid thin panels). Pre‑drill holes and use short screws that won’t poke through the front.
Add a Simple Lip or Bungee
Attach a thin strip of wood or stretch bungee cord across the front of each shelf to keep items from falling when the door moves.
2. Install Corner Shelves to Use Forgotten Space
Corners are often empty but perfect for plants, books, or small decor.
Tools & Materials
- Pre‑made corner shelves or cut triangular boards
- L‑brackets or corner shelf hardware
- Drill, level, anchors/screws
Steps
Choose a Corner and Purpose
Decide whether the shelves will hold books, plants, or kitchen items. This determines how many shelves and how high they go.
Mark Shelf Heights
Use a pencil and level to mark where each shelf will sit on both walls.
Install Brackets or Hardware
Anchor brackets to the wall at your marks. Use wall anchors if you’re not hitting studs.
Place and Secure Shelves
Set shelves on brackets and secure from below with screws.
Keep It Light
Don’t overload small corner shelves. Use them for lighter items so they don’t sag or pull away from the wall.
3. Add a Fold‑Down Desk for Flexible Work Space
A wall‑mounted, fold‑down desk creates a small work zone that disappears when you’re done.
Tools & Materials
- Sturdy board or pre‑made tabletop
- 2 folding shelf brackets (rated for your expected weight)
- Drill, level, anchors/screws
Steps
Pick a Wall and Sitting Height
Standard desk height is around 29–30 inches. Mark this on the wall where your brackets will mount.
Install the Folding Brackets
Use a level to keep both brackets even. Drill into studs when possible; otherwise, use heavy‑duty wall anchors.
Attach the Desktop
Place the board on the extended brackets and secure it from underneath according to bracket instructions.
Test the Fold Mechanism
Open and close several times to ensure smooth movement and clearance.
Add a Chair That Tucks Away
Use a stool or folding chair that can tuck under or hang on the wall when the desk is folded down.
4. Create a Raised Bed with Under‑Bed Storage
In small bedrooms, under‑bed space is prime real estate.
Tools & Materials
- Bed risers (solid, weight‑rated) or a simple DIY platform of 2x4s and plywood
- Storage bins or rolling drawers
Steps
Assess Bed Type and Weight
Check your bed frame legs and total load (mattress + sleepers) to choose appropriate risers or build a sturdy platform.
Lift and Place Risers Safely
With help, lift each corner of the bed and place a riser under each leg. Check that the frame sits flat and stable.
Measure New Clearance
Measure from floor to underside of the bed to know what bin height will fit.
Choose Bins or Drawers
Use low, wide bins with lids or rolling drawers. Clear bins help you see contents without digging.
Organize by Category
Group items by type: off‑season clothes, extra bedding, shoes. Label bins so things are easy to find.
5. Turn a Narrow Hall into a Storage and Display Zone
Even a skinny hallway can contribute storage and style if you keep things shallow.
Tools & Materials
- Narrow wall hooks or peg rail
- Slim wall‑mounted shelves or picture ledges
- Drill, level, anchors/screws
Steps
Map Out Traffic Flow
Measure hall width. Keep anything you add under 4–5 inches deep so people can pass comfortably.
Install a Peg Rail or Hooks
Mount hooks at a comfortable reach for bags, hats, or lightweight jackets.
Add Slim Shelves for Keys and Mail
Use picture ledges or thin shelves higher up for small decor, mail, or sunglasses.
Keep the Lower Half Clear
Avoid bulky storage at leg or knee height to prevent bumps and stubbed toes.
Use Light Colors and Good Lighting
Paint shelves and hooks light colors and ensure the hallway has enough light so it feels open, not crowded.
Practical Tips for Small‑Space DIY
- Measure twice before buying or drilling—depth matters more than ever.
- Choose multi‑purpose pieces (bench + storage, desk + shelf).
- Go vertical: use walls, doors, and corners first.
With a few smart, space‑saving projects, even a small home can feel open, organized, and tailored to how you actually live.