
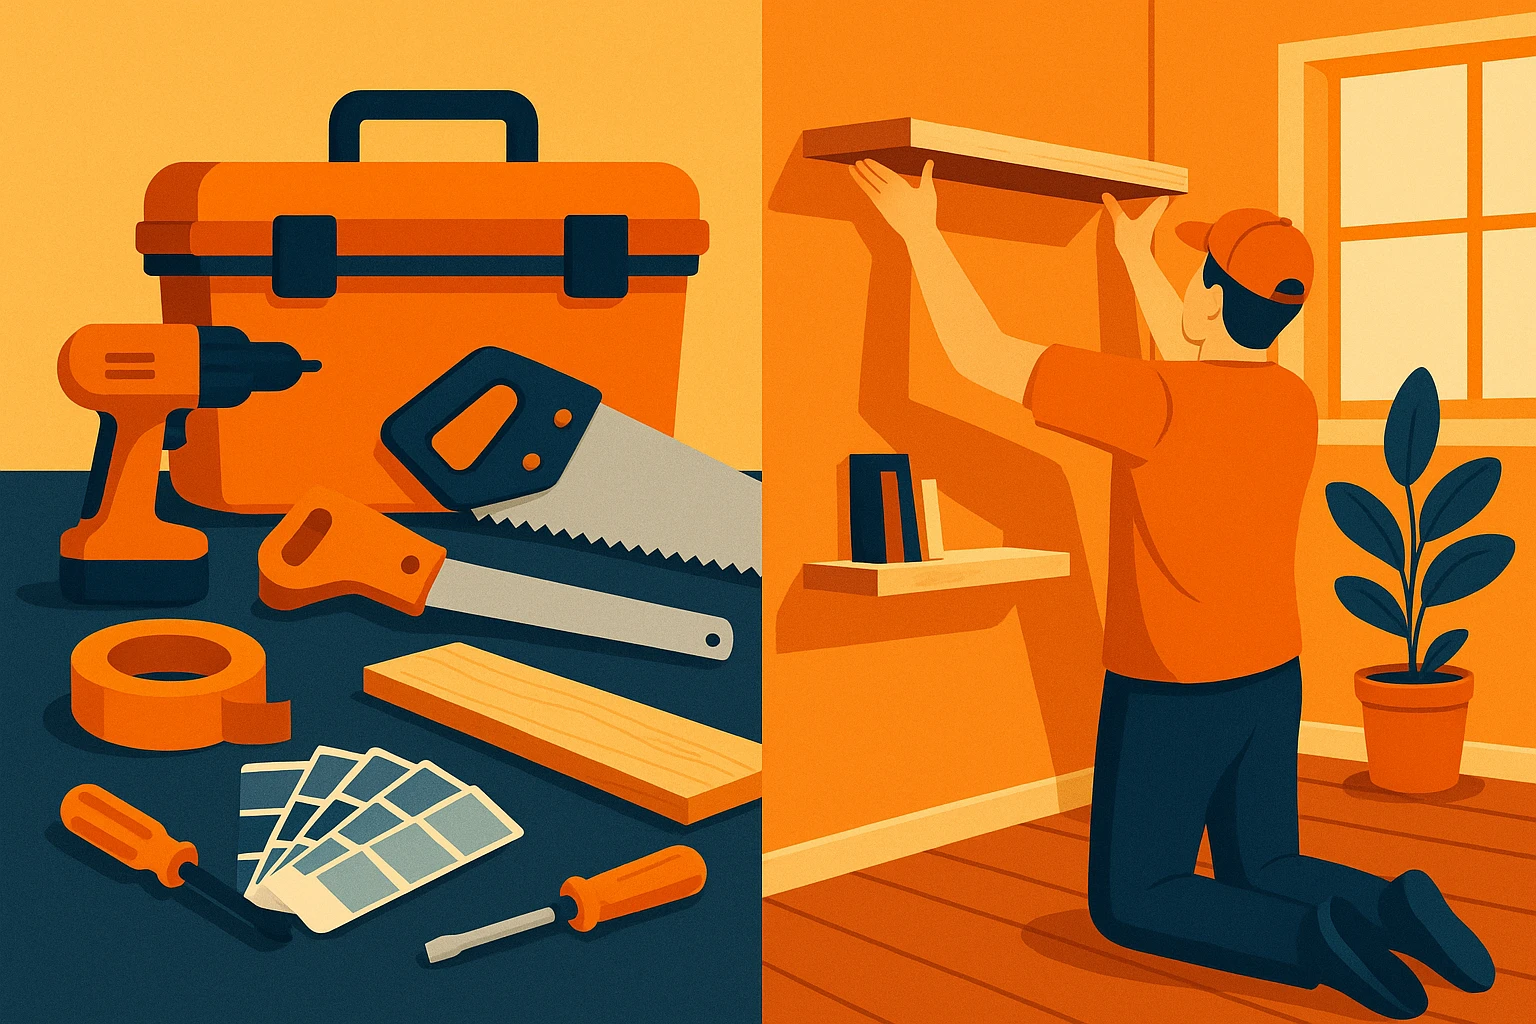
You don’t need a contractor, a workshop, or a huge budget to make your home feel fresher and more functional. With a few basic tools, a free weekend, and some planning, you can tackle DIY projects that actually change how you use your space.
Intro: Small Projects, Big Impact
This guide covers five practical, beginner‑friendly projects that give you a visible upgrade without tearing down walls. Each one includes tools, materials, and clear steps so you can get started confidently.
Project 1: Create a Simple Accent Wall
An accent wall adds character to any room with minimal effort. You can use paint, peel‑and‑stick wallpaper, or wood trim.
Tools & Materials
- Painter’s tape
- Level and measuring tape
- Paint and roller (or peel‑and‑stick wallpaper)
- Drop cloth
- Sandpaper (optional for rough walls)
Steps
Choose the Right Wall
Pick the wall that naturally draws your eye—behind a bed, sofa, or TV. Avoid walls with too many doors or windows.
Prep the Surface
Wipe down the wall with a damp cloth to remove dust. If it’s glossy, scuff lightly with sandpaper so paint or wallpaper adheres better.
Define Clean Edges
Use painter’s tape along ceilings, trim, and adjoining walls. Press firmly with your fingernail or a putty knife to avoid paint bleed.
Apply Paint or Wallpaper
- For paint: Cut in edges with a brush, then use a roller in a “W” pattern. Two coats usually give full coverage. - For wallpaper: Start from the top, peel back a section of backing, and smooth downward with a squeegee.
Remove Tape and Touch Up
Pull painter’s tape off at a 45° angle while the final coat is still slightly tacky. Touch up edges with a small brush.
Project 2: Build a Floating Shelf for Extra Storage
Floating shelves are ideal for kitchens, bathrooms, and living rooms. They clear clutter and double as décor.
Tools & Materials
- Stud finder
- Level and measuring tape
- Drill and drill bits
- Wood board (pre‑cut or cut to size)
- Floating shelf brackets or heavy‑duty L‑brackets
- Screws and wall anchors (if not in a stud)
Steps
Plan Location and Load
Decide what you’ll store—books, dishes, plants. Heavier items need brackets anchored into studs.
Find Studs and Mark Level Line
Use a stud finder to locate studs. Mark them lightly. Draw a straight level line where the shelf will sit.
Install the Brackets
Hold brackets along the line and mark screw holes. Drill pilot holes, then screw brackets into studs (or use proper anchors if needed).
Attach the Shelf Board
Place the board on brackets. Check with a level. Secure from underneath with screws through the bracket into the board.
Finish and Style
Sand rough edges, then stain or paint if desired. Add items gradually so you don’t overload the shelf.
Project 3: Upgrade Cabinet Hardware in One Afternoon
Swapping cabinet knobs and pulls is one of the easiest ways to modernize a kitchen or bathroom.
Tools & Materials
- Screwdriver or drill
- New knobs or pulls
- Measuring tape and template (often included with hardware)
- Wood filler (optional for old holes)
Steps
Count and Measure Before You Buy
Count how many knobs and pulls you need. Measure the “center‑to‑center” distance of existing pulls so replacements fit.
Remove Old Hardware
Unscrew from the inside of the door or drawer. Keep screws if they’re the right size for the new hardware.
Fill Extra Holes (If Needed)
If you’re changing from single knobs to longer pulls, fill unused holes with wood filler. Let dry, then sand smooth.
Mark and Drill (For New Holes)
Use a template or make your own out of cardboard. Mark holes consistently on each cabinet. Drill straight and slowly.
Install New Hardware
Attach knobs or pulls with screws from the back. Hand‑tighten and avoid overtightening, which can crack the door.
Project 4: Add a Pegboard Tool Organizer
Pegboards are perfect for garages, craft rooms, or utility rooms. They keep tools visible and easy to grab.
Tools & Materials
- Pegboard panel
- 1x2 wood strips (for spacers)
- Screws and wall anchors
- Drill and level
- Pegboard hooks and baskets
Steps
Measure Your Wall Space
Decide how big you want the pegboard. Mark the outline on the wall with a light pencil.
Install Wood Spacers
Attach 1x2 strips to the wall where the edges of the pegboard will go. The gap allows hooks to slide in.
Mount the Pegboard
Hold the pegboard against the spacers and drill pilot holes through into the strips. Secure with screws in each corner and the center.
Plan Your Layout
Lay tools on the floor in front of the pegboard. Group similar items: screwdrivers, pliers, paint supplies. Transfer this layout to the board.
Add Hooks and Label Sections
Insert hooks for each tool and use small bins for loose items. Optional: add labels or tape outlines so everything has a home.
Project 5: Install a Simple Entryway Organizer
A basic entry organizer helps catch keys, mail, and bags before they hit the floor.
Tools & Materials
- Wall‑mounted coat rack or hooks
- Small shelf or ledge
- Drill, level, and studs/anchors
- Basket or tray for keys and mail
Steps
Define a Zone Near the Door
Choose wall space within a few steps of your main door. Measure the height so both adults and kids can reach.
Mount Hooks or Coat Rack
Use a level to mark a straight line. Drill into studs where possible; use appropriate anchors elsewhere.
Add a Small Shelf or Ledge
Install a narrow shelf above or beside the hooks for sunglasses, mail, and small items. Keep depth under 6 inches for tight spaces.
Set Up Containers
Place a tray or small basket on the shelf for keys and wallets. Another basket can hold incoming mail.
Create Simple Rules
Decide that keys, bags, and mail always stop here. Consistency turns your DIY project into a real habit‑changer.
Final Tips for Successful Weekend DIY
- Start with one project and finish it before you start the next.
- Always measure twice and drill once.
- Protect floors with drop cloths and wear basic safety gear (gloves, safety glasses).
- Keep all receipts in case materials need to be swapped.
With these straightforward upgrades, your home will look and feel more organized, personalized, and polished—without calling in a pro.