
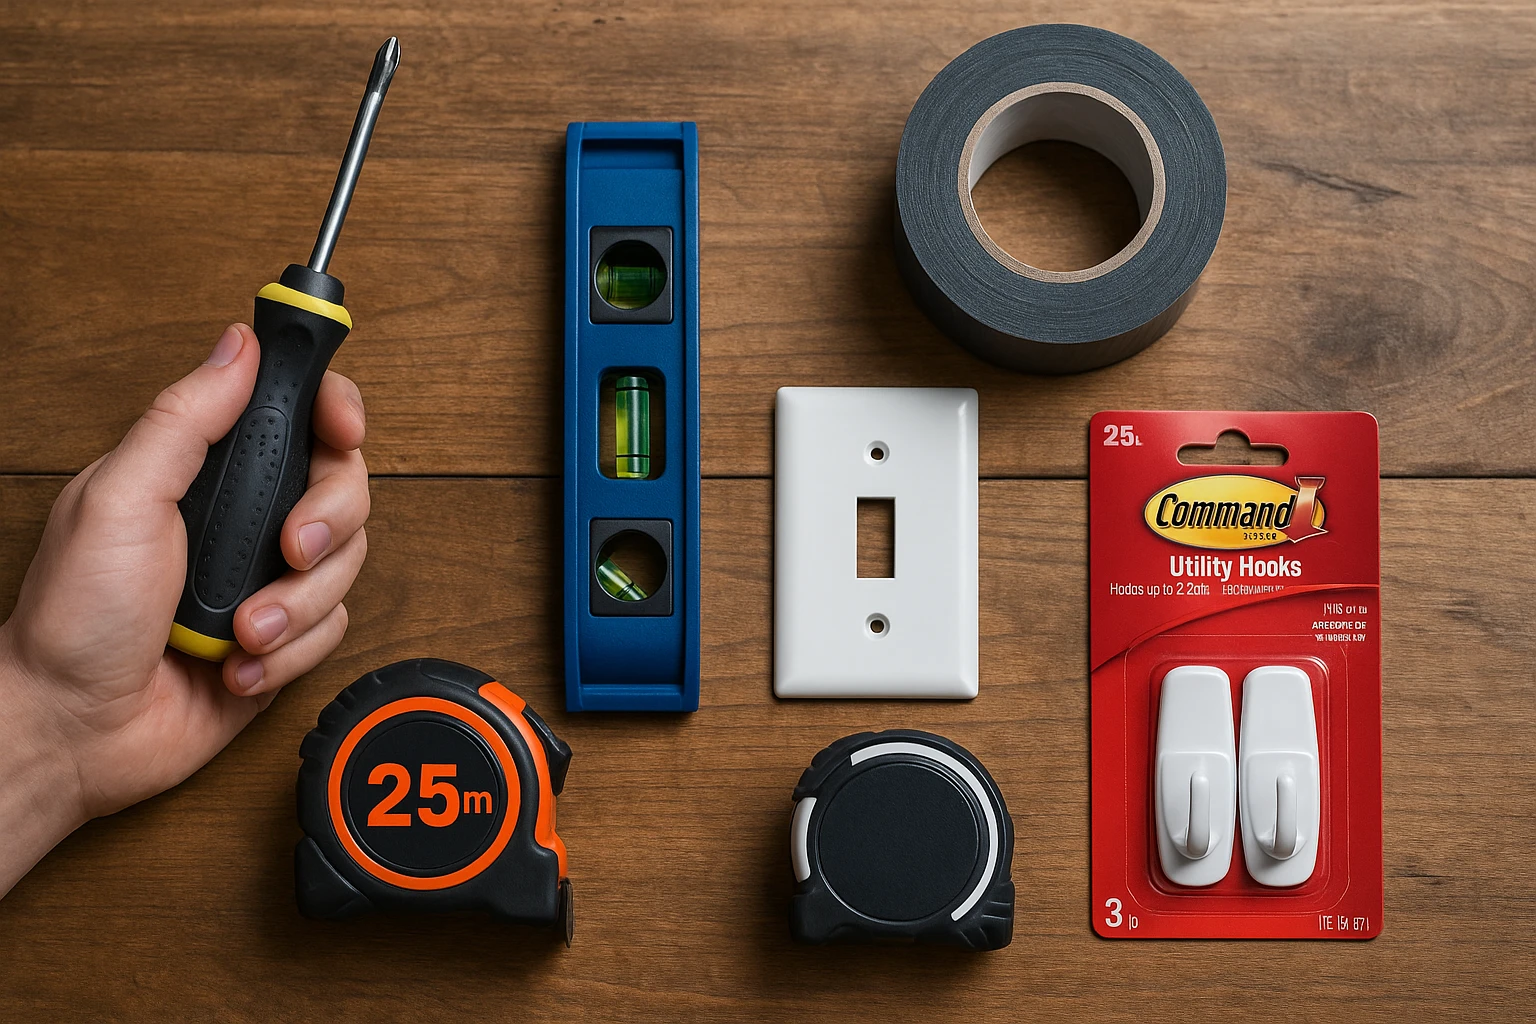
Improving your home doesn’t have to mean big spending. With around $20 per project—and often less—you can tackle quick fixes that make your space more comfortable, efficient, and attractive.
Budget-Friendly Improvements You Can Do This Week
Below are five DIY-friendly upgrades that keep both tools and costs simple. Each focuses on practical results you’ll notice right away.
1. Install Felt Pads and Bumpers to Protect Floors and Cabinets
Scratched floors and banging cabinet doors make a home feel rough. Preventing damage is cheaper than repairing it.
What you’ll need
- Pack of assorted felt pads (for chairs and furniture)
- Clear rubber bumpers (for cabinet doors and drawers)
- Rubbing alcohol and cloth
Step-by-step
Clean contact points
Wipe the bottoms of chair and table legs with rubbing alcohol to remove dust and grease so pads adhere well.
Apply felt pads
Stick pads to every chair, barstool, and table leg that contacts hard flooring. Press firmly for a few seconds per leg.
Add cabinet bumpers
Open each cabinet door and drawer, and stick clear rubber bumpers on the inside corners where they contact the frame. Two per door is usually enough.
Check for movement
Slide a chair back and forth. If it still makes noise, add a second layer of felt or a larger pad.
Schedule a quick check-up
Plan to walk through every few months and replace any missing pads or bumpers. They’re cheap and protect much more expensive surfaces.
Cost check: A bulk pack of pads and bumpers typically costs under $15 and covers an entire dining area and kitchen.
2. Add Peel-and-Stick LED Lights in Dark Spots
Dark closets, pantries, and under-sink areas are frustrating and prone to clutter. Simple battery-powered LEDs solve this quickly.
What you’ll need
- Stick-on LED puck lights or strip lights (battery powered)
- Batteries (usually AA or AAA)
- Rubbing alcohol and cloth
Step-by-step
Identify dark zones
Check closets, pantries, under cabinets, and near entryways that lack direct lighting.
Clean mounting surfaces
Wipe the area with rubbing alcohol and let dry. Adhesive sticks better to clean surfaces.
Install the lights
For puck lights, peel the adhesive backing and press firmly where you need light. For strips, start at the power end and press along the path.
Test visibility
Close doors and come back at night to ensure the light is placed where it’s most useful. Adjust if needed.
Keep spare batteries nearby
Store backup batteries in a labeled container in the same closet or a nearby drawer so replacements are quick.
Cost check: A multi-pack of battery-powered LEDs often runs $10–$20 and instantly improves visibility.
3. Replace Cracked or Yellowed Shower Curtain Liners
Nothing makes a bathroom feel tired faster than a grimy, brittle shower liner. Replacing it is one of the fastest makeovers you can do.
What you’ll need
- New shower curtain liner (mildew-resistant if possible)
- Shower curtain rings (reuse if in good shape)
- Scissors (if trimming is needed)
Step-by-step
Remove the old liner
Unclip the curtain rings and pull down the liner. Check for rusted rings; replace any that stick or squeak.
Clean the rod area
Wipe the shower rod and nearby tiles or wall with a bathroom cleaner to remove soap scum and mildew.
Hang the new liner
Clip the new liner onto the rings, making sure it hangs inside the tub and doesn’t bunch up.
Trim if needed
If the liner drags excessively on the tub floor, trim a small amount from the bottom with scissors.
Add a quick rinse routine
After showers, pull the curtain fully closed so it dries flat and consider giving it a quick rinse to prevent buildup.
Cost check: Basic liners cost $5–$15. Upgrading to a mildew-resistant model can save you from replacing it as often.
4. Refresh Door Hardware With a Simple Handle Swap
Outdated or mismatched doorknobs can date your whole interior. Swapping one or two key knobs—for example, on the bathroom and front closet—makes a surprising difference.
What you’ll need
- New doorknob set (interior passage or privacy type)
- Screwdriver
- Optional: door latch alignment tool if latch sticks
Step-by-step
Choose a modern, simple style
Stick with a finish that matches or complements existing hardware: brushed nickel, black, or brass are all safe picks.
Remove the old knob
Unscrew the visible screws on the interior side, pull both halves of the knob off, and slide out the latch mechanism.
Install the new latch
Insert the new latch into the edge of the door, ensuring the curved side faces the direction the door closes. Screw it into place.
Mount the new knobs
Fit the exterior knob first, then align the interior knob, threading the screws through and tightening evenly.
Test the operation
Open and close the door several times. Ensure the latch lines up with the strike plate and the handle turns smoothly.
Cost check: Many interior knobs cost $15–$20. Swapping just the most visible or frequently used ones can refresh a space on a small budget.
5. Create a Simple Entryway Organizer in Minutes
A chaotic entry means lost keys, scattered shoes, and daily frustration. A basic organizing setup costs little but pays off every single day.
What you’ll need
- Small wall hooks or adhesive hooks
- A simple tray or shallow basket
- Optional: low-cost shoe mat or boot tray
Step-by-step
Pick your “landing zone”
Choose the first flat surface or patch of wall you see when walking in—this is where clutter naturally lands.
Install key and bag hooks
Mount hooks at comfortable heights for keys and everyday bags. Use adhesive hooks if you’re renting or avoiding holes.
Place a tray or basket
Set a shallow tray on a console or shelf for wallets, sunglasses, and mail. Commit to using this as the only drop point.
Add a shoe mat
Place a boot tray or rubber mat by the door for shoes and wet boots. This protects floors and visually contains clutter.
Define a 2-minute reset routine
At the end of each day, take 2 minutes to clear stray items back into the tray, hooks, or mat. This tiny habit keeps the area tidy.
Cost check: Hooks, a tray, and a basic mat can easily come in under $20 if you shop smart or repurpose items you already own.
Small Budget, Big Daily Impact
Quick fixes don’t need big budgets to be effective. By focusing on protection, convenience, and cleanliness, these under-$20 projects deliver outsized value. Start with the area that bothers you the most—your entry, bathroom, or dining space—and build momentum from there.