
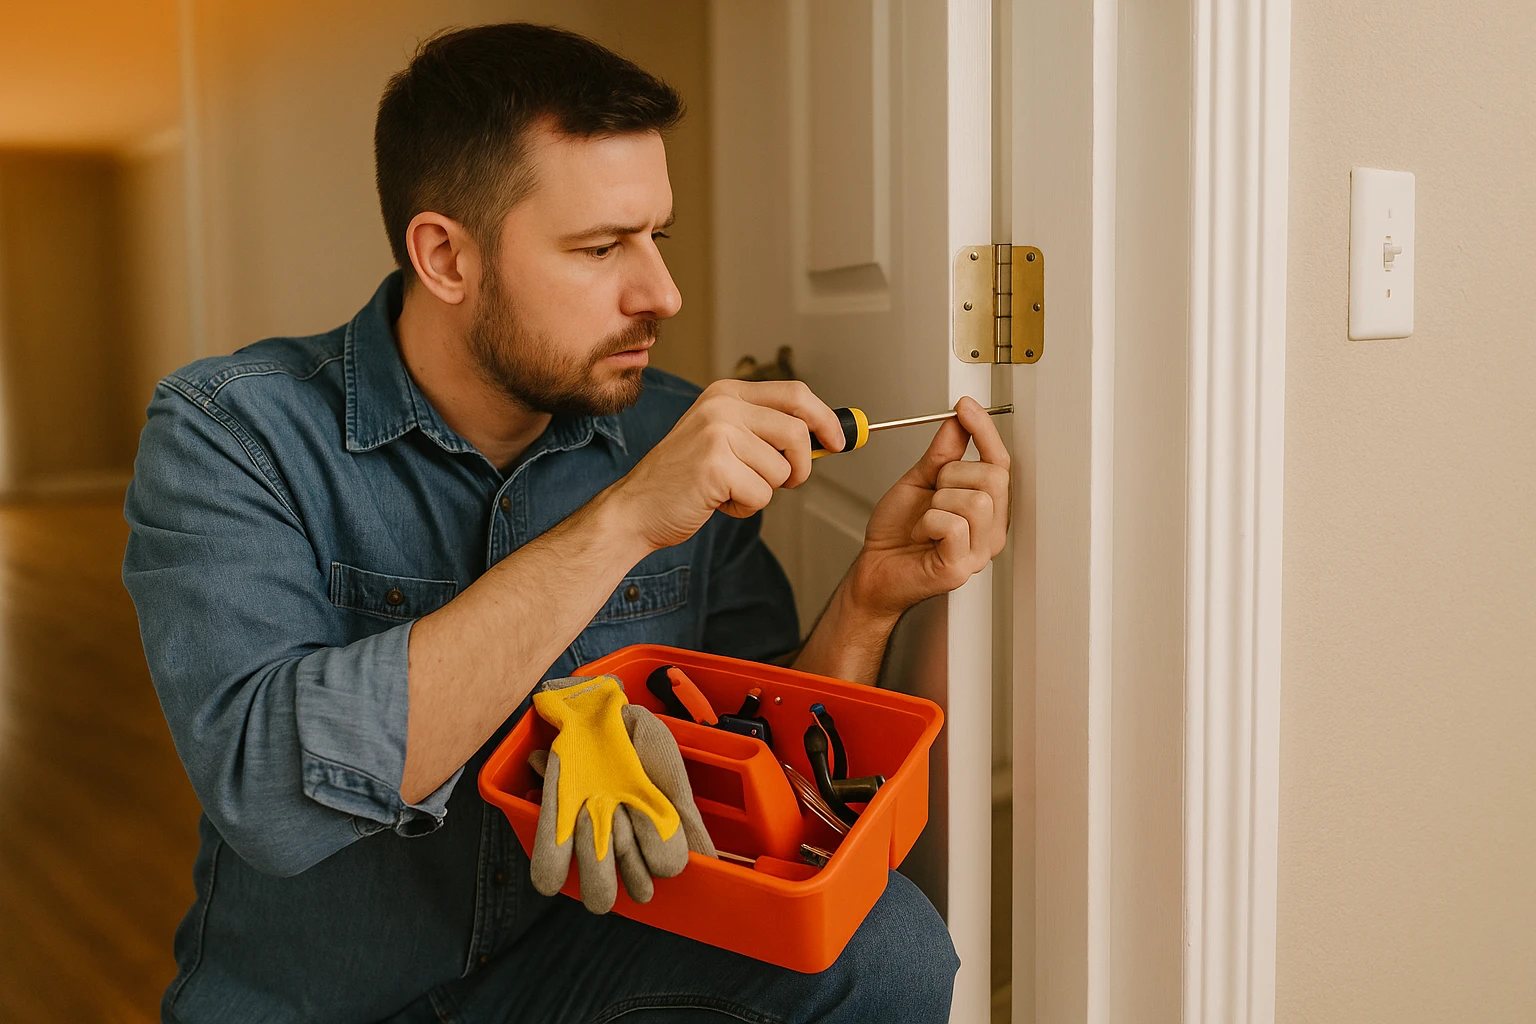
Those tiny annoyances around the house—a dripping faucet, a loose towel bar, a wobbly chair—add up. The good news: many of them can be handled in about ten minutes with basic tools.
Fix More, Stress Less: Small Repairs With Big Payoff
Below are five quick, DIY-friendly fixes you can do even if you’re a beginner. Each one improves daily comfort and prevents bigger problems later.
1. Stop a Dripping Faucet (Without Replacing It)
A slow drip wastes water and can stain your sink basin. Often, the fix is as simple as cleaning or replacing the aerator.
What you’ll need
- Adjustable wrench or pliers
- Old toothbrush
- White vinegar
- Small bowl
Step-by-step
Remove the aerator
At the tip of the faucet spout you’ll see a small metal or plastic cap. Grip it gently with your fingers or a cloth-wrapped wrench and unscrew it.
Soak in vinegar
Drop the aerator pieces into a bowl of vinegar for 10–15 minutes to dissolve mineral buildup.
Scrub and rinse
Use an old toothbrush to scrub out debris and scale. Rinse well so no grit goes back into the faucet.
Inspect the washers
If rubber washers are cracked or brittle, replace them (kits are cheap and labeled by size at hardware stores).
Reassemble and test
Screw the aerator back on by hand. Turn the faucet on and off a few times and check if the drip is gone. If it persists, the internal cartridge might need replacement, but you’ve eliminated the most common cause in minutes.
2. Re-Secure a Loose Towel Bar or Toilet Paper Holder
A wobbly bar signals loose anchors—not necessarily damaged drywall.
What you’ll need
- Screwdriver
- New drywall anchors (if existing are loose or damaged)
- Drill (optional but helpful)
Step-by-step
Remove the bar and brackets
Loosen the tiny set screw underneath each bracket, then slide the bar and covers off to expose the mounting plates.
Tighten existing screws
If the plate moves, the screws or anchors are loose. Tighten the screws and test. If the plate still wiggles, proceed to step 3.
Upgrade the anchors
Remove the screws, pull out the old anchors with pliers, and insert new, stronger drywall anchors rated for the load.
Reattach mounting plates
Screw plates firmly into the new anchors. There should be no wiggle at all.
Reassemble and test
Slide the decorative brackets back on, tighten set screws, and tug gently. A solid hold means the problem is solved.
3. Fix a Wobbly Chair or Table
Loose joints in chairs or small tables can often be fixed quickly with glue and a wrench.
What you’ll need
- Wood glue
- Clamps or heavy books
- Allen wrench or screwdriver (for bolts)
- Damp cloth
Step-by-step
Flip and inspect
Turn the chair or table upside down and identify which joints are moving.
Tighten bolts and screws
Use the correct tool to snug up every connection. Many flat-pack pieces just work themselves loose over time.
Apply wood glue to wiggly joints
If dowels or mortise-and-tenon joints are loose, gently separate them if possible, add a small amount of wood glue, and press back together.
Clamp and wipe
Use clamps or heavy books to hold the joint tight while glue dries. Wipe any squeezed-out glue with a damp cloth.
Let it cure and test
Wait per glue instructions (usually 30–60 minutes before light use, 24 hours for full strength). Flip upright and test for stability.
4. Silence a Rattling HVAC Vent Cover
A noisy vent can make an otherwise quiet room annoying. Often, the cover is just a bit loose.
What you’ll need
- Screwdriver
- Foam tape or weatherstripping (optional)
- Vacuum with brush attachment
Step-by-step
Turn off the system
For safety and comfort, switch off heating or cooling while you work.
Tighten the screws
Check each vent cover screw and snug it down. Don’t overtighten—you don’t want to crack the plastic.
Add foam for a snug fit
If the cover still rattles, add a thin layer of foam tape around the vent opening or on the back of the cover where it meets the wall or ceiling.
Vacuum dust buildup
While the cover is off or loosened, vacuum dust from the vent fins and surrounding drywall to improve airflow and cleanliness.
Test with system on
Turn your HVAC back on and listen. Adjust screws or foam placement if you still hear rattling.
5. Patch a Small Wall Ding or Corner Dent
Minor wall damage makes rooms look rough, but you can fix small dings in less than ten minutes of hands-on work.
What you’ll need
- Lightweight spackle
- Putty knife
- Fine-grit sandpaper or sanding sponge
- Matching touch-up paint and brush
Step-by-step
Clean the area
Wipe away dust or loose drywall with a dry cloth or your hand.
Apply spackle
Scoop a small amount on your putty knife and press into the ding or dent, slightly overfilling.
Smooth it out
Scrape off excess spackle so the patch is flush or just slightly raised.
Sand lightly after drying
Once dry (often in 30–60 minutes), sand gently until smooth and level with the wall.
Touch up with paint
Dab on matching paint with a small brush, feathering the edges so it blends. One or two thin coats usually do it.
Keep a Small Repair Kit Ready
To make these ten-minute fixes truly quick, keep a basic kit on hand: screwdrivers, an adjustable wrench, pliers, wood glue, spackle, sandpaper, and a few common anchors. With the essentials nearby, you can tackle small problems as soon as you notice them—before they grow into something bigger and more expensive.