Fix It in an Afternoon: Quick DIY Wins That Make Your Home Feel New
A full remodel is great—until you see the price tag and the calendar. The good news: you don’t need a contractor (or a second mortgage) to make your place feel cleaner, brighter, and more functional. With a couple of basic tools and an afternoon, you can tackle small upgrades that actually change how you live in your space. This Handy Luup guide walks you through five practical quick fixes that most people can do with beginner‑level skills and a realistic budget.
Step 1: Silence Squeaky Doors and Drawers
That squeak you hear every time someone opens a door? It’s not “old house charm”—it’s friction you can fix in minutes.
First, identify the source of the noise: hinges on a door, drawer slides, or cabinet doors. For doors, close it halfway and gently move it back and forth to pinpoint which hinge squeaks. Support the door with your foot or a stack of books, then slightly loosen one hinge pin at a time using a flathead screwdriver and hammer. Pull the pin out just enough to apply a light household lubricant (like silicone spray or a tiny amount of petroleum jelly), then tap it back in.
For drawers and cabinet hinges, clean off visible dust and grime with a dry cloth first. Then add a light spray of silicone lubricant or rub a candle or bar of soap along wooden drawer runners. Avoid over‑lubricating; excess spray attracts dust. Open and close the door or drawer several times to work the lubricant in. If a cabinet door still slams, add stick‑on felt pads or soft‑close bumpers at the contact points to reduce noise and wear.
Step 2: Boost Lighting with Simple Bulb and Shade Swaps
Dull, yellow light can make even a clean room look tired. You can dramatically change the feel of a space just by swapping bulbs and cleaning or upgrading shades—no rewiring required.
Start by checking your existing bulbs. Look for the “lumens” (brightness) and “color temperature” (measured in Kelvins, K). For bright kitchens and work areas, aim for 3000–4000K “bright white” or “cool white.” For bedrooms and living rooms, 2700–3000K “soft white” keeps things cozy. Replace old incandescent or CFL bulbs with LED equivalents; they use less energy and last longer.
Turn the power off at the switch before working on any fixture. Remove shades or covers and gently wash glass shades in warm, soapy water; dry thoroughly before reinstalling. For fabric shades, use a lint roller or vacuum brush attachment to remove dust. If a lamp still looks dated, consider replacing just the shade with a more modern shape (drum shades are a simple, clean upgrade). Finally, angle or reposition floor and desk lamps to bounce light off walls or ceilings—this spreads light more evenly and makes rooms feel larger.
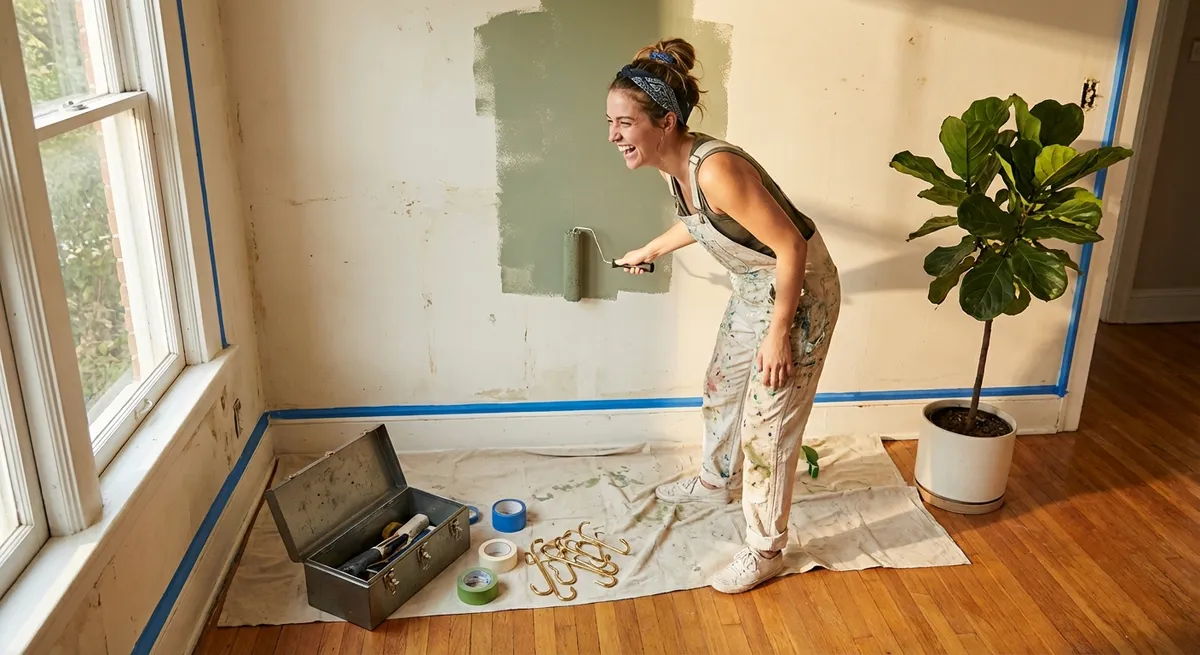
Step 3: Refresh Walls with Strategic Patching and Touch‑Up Paint
You don’t need to repaint an entire room to make it look sharper. Fixing nail holes, small dents, and scuffs can instantly clean up walls.
Start by cleaning the area with a damp cloth to remove dust and grime so the patch will stick properly. For small nail holes and hairline cracks, use lightweight spackle or premixed wall filler. Apply a small amount with a putty knife or even an old store card, pressing it into the hole and scraping off excess until it’s flush with the wall. Let it dry according to the instructions—typically 30 minutes to a few hours.
Once dry, lightly sand with fine‑grit sandpaper (180–220 grit) until smooth. Wipe away dust, then use leftover paint (ideally the original wall color) to touch up the area with a small brush or foam applicator. Feather the edges by lightly brushing beyond the patch so it blends in better. If you don’t have the exact paint, carefully remove a painted switch plate and take it to a hardware store to get a color match mixed in a small sample size. Stick to touching up small areas; if a wall is extensively patched, one full coat may be worth the extra effort.
Step 4: Stop Minor Drafts Around Doors and Windows
A drafty room isn’t just uncomfortable—it costs you money on heating and cooling. Basic weatherproofing is one of the easiest quick fixes with a solid payoff.
On a breezy day or with your HVAC running, slowly move your hand around window frames, baseboards, and door edges to feel for air movement. You can also use a lit incense stick or candle and watch for flickering or smoke movement (keep it away from curtains and anything flammable). For gaps around stationary window and door frames, use paintable latex caulk. Cut the tip of the tube at a slight angle, run a thin bead along the gap, then smooth with a damp finger or caulk tool.
For the sides and top of doors that leak air, install adhesive foam weatherstripping on the frame where the door closes. Clean the surface first with mild cleaner and let it dry. Measure, cut, peel, and stick, pressing firmly as you go. For gaps at the bottom of a door, add a door sweep or draft stopper. Most screw‑on door sweeps can be cut to width with a hacksaw and attached with a drill or screwdriver. Recheck your work by feeling for drafts again and adjust where needed.
Step 5: Tame Cable Chaos with Simple Mounts and Routing
Nothing makes a room feel messier, faster, than a tangle of cords behind the TV or desk. You don’t need custom built‑ins to make it look organized; strategic routing and a few cheap accessories do the trick.
First, unplug everything and gently detangle the cords. Use painter’s tape and a marker to label each end (e.g., “TV,” “Router,” “Lamp”) so reconnecting is easy. Decide where your main power strip will live—ideally mounted to the underside of a desk or on the back of a TV stand, off the floor. Many strips come with keyhole slots on the back; use two appropriately sized screws in the furniture (not in electrical boxes or walls with unseen wiring) and slide the strip on.
Bundle cords that run in the same direction using Velcro straps or reusable cable ties; avoid over‑tightening. Route bundles along the back edges of furniture using adhesive cable clips or stick‑on raceways. For cords that must cross a visible area, use low‑profile cord covers that match the floor or wall color and follow manufacturer instructions for adhesion. Once everything is routed, plug in one device at a time to confirm it works and adjust slack so cords aren’t under tension.
Conclusion
Quick fixes don’t have to be glamorous to be satisfying. Silencing squeaks, brightening rooms, cleaning up walls, sealing drafts, and taming cables all add up to a home that feels calmer and more put‑together—with changes you can notice the same day. Start with the project that annoys you most every day, knock it out in under an afternoon, and build your confidence from there. The more small wins you stack, the more your place starts to feel like it’s really working for you.
Sources
- [U.S. Department of Energy – Air Sealing Your Home](https://www.energy.gov/energysaver/air-sealing-your-home) - Guidance on locating and sealing drafts around doors and windows
- [U.S. Department of Energy – Lighting Choices to Save You Money](https://www.energy.gov/energysaver/lighting-choices-save-you-money) - Explains bulb types, color temperature, and efficiency
- [University of Missouri Extension – Repairing Holes in Drywall](https://extension.missouri.edu/publications/gp10) - Step‑by‑step instructions for patching different sizes of wall damage
- [Family Handyman – How to Fix Squeaky Doors](https://www.familyhandyman.com/project/how-to-fix-squeaky-doors/) - Practical tips for diagnosing and lubricating noisy hinges
- [Harvard Joint Center for Housing Studies – Minor Home Repairs](https://www.jchs.harvard.edu/research-areas/remodeling/minor-home-repairs) - Research context on the value and impact of small home maintenance projects